When working on software projects, specifically in LabVIEW, I have never liked the way reuse libraries and custom instrument driver libraries are source controlled or included in projects. I’ve tried multiple solutions, and each have their own ‘dirty’ feel about them.
Disclaimer:
I’m still trying to figure this out and learning more about submodules every day
The command line must be embraced as git submodules are not supported in many GUI tools.
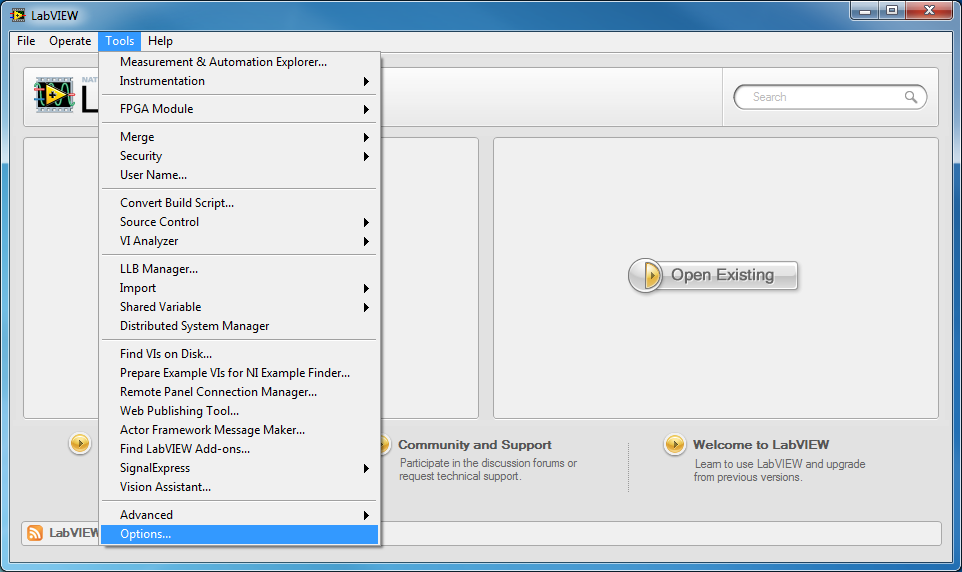
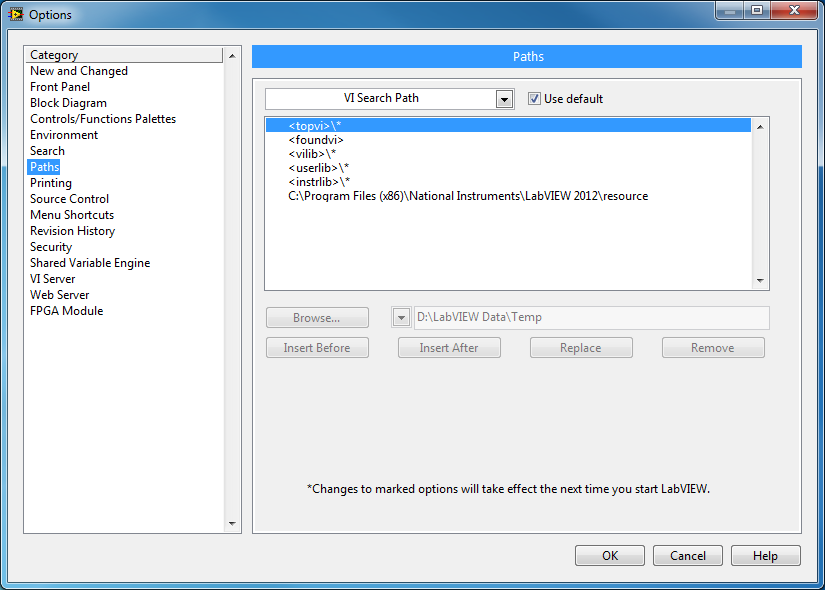
Using vi.lib or instr.lib
Placing common libraries in either vi.lib or instr.lib is a good method of sharing the same version of library between projects. Typically, a vi package is created and then installed into the LabVIEW directory. The packages, as well as the library source code can be source controlled.
The disadvantage of this method, in my opinion, is when you want different versions of a specific library used across different projects. (I’m not a VIPM user so this might be possible)
Copy and paste the library into your project
Another method for including common libraries into a project is to copy and paste the source code into the project. This makes moving a project easy as all the dependencies are contained within the project, however it does break clean source code control and creates duplicate code.
The problem comes in when you want to make a change to the common library within a project but also want that change applied to other projects. The updated common library then needs to be copied to the other projects manually.
But what if only some projects need updating or you want to quickly and efficiently share the common changes between developers?
Say hello to Git submodules
Git submodules are reference pointers to other Git repositories. This means once a project is cloned from a repository, additional repositories can be added (cloned) into the existing project folder. Git submodule also supports recursion; however this is disabled by default.
As an example, I have two library repositories already created and stored on Bitbucket. The following will be a step-by-step of how to create a project and add the libraries as submodules.
Create a local bare repository
mkdir git-submodule.git
cd git-submodule.git/
git init --bare
Clone the main project repository
git clone "C:\git-demo\git-submodule.git" "git-submodule"
Once cloned, create and save a LabVIEW project, then commit it to the repository.
git add .
git commit -m "Add empty LabVIEW project for submodule example"
git push origin master
The files on disk should look as follows:

Now we want to add your common libraries, which are in their own repositories, to our project. The two common libraries I will add is a simple dialog library and math library.
git submodule add git@bitbucket.org:Labvolution/driver_math.git
git submodule add git@bitbucket.org:Labvolution/driver_dialogs.git
Once the submodules have been added, a new file, .gitmodules, is created with the reference to the submodules.

[submodule "reuse-libs/driver_dialogs"]
    path = reuse-libs/driver_dialogs
    url = git@bitbucket.org:Labvolution/driver_dialogs.git
[submodule "reuse-libs/driver_math"]
   path = reuse-libs/driver_math
   url = git@bitbucket.org:Labvolution/driver_math.git
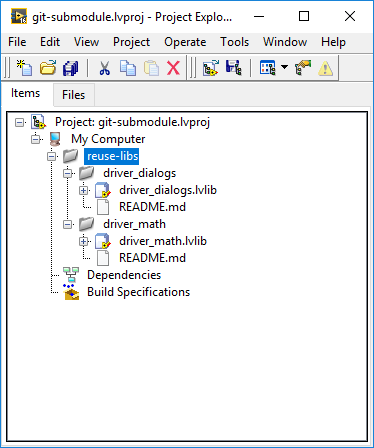
The reuse-libs folder now contains the submodule libraries.

A git status on the main project repository will show the changes. These are automatically staged when the submodules are added.

The changes need to be committed.
git commit -m "Add common libraries as submodules"
The common libraries, each in their own repositories, are now part of the main LabVIEW project which is itself in a repository.
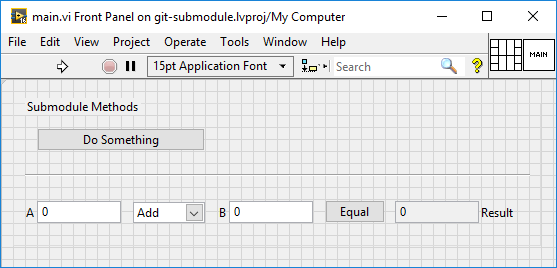
A main vi can then be created to test the libraries.
These changes can be added and committed to the main project.
If a library is modified (by adding a new vi), committing the changes will be a two-stage process, the first being commit the changes to the library, and then committing the new submodule reference to the main repository. This tells the main repository which version (commit hash) to use.
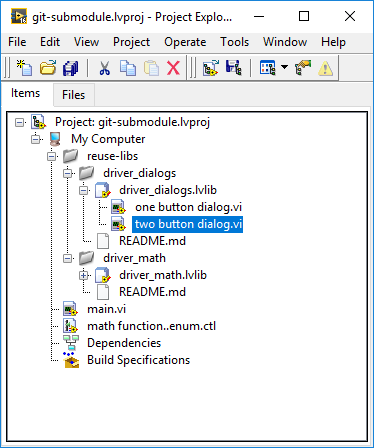
To use a previous version of the library, checkout a specific hash or branch of the submodule. Then git add it to the main repository.

Notice that the “two button dialog.vi” is no longer available.

A git status on the main repository will show a change in the submodule.

Having to add a specific submodule reference to a main repository, allows you to use different ‘versions’ of the submodule in different projects.
LabVIEW Project
When there are git submodules within a project, it is always a clever idea to know what they are, even though they are tracked from the main repository.
By using a post build vi, a log file can be added to the output build directory which shows what submodules are included, as well as what hash reference is used.
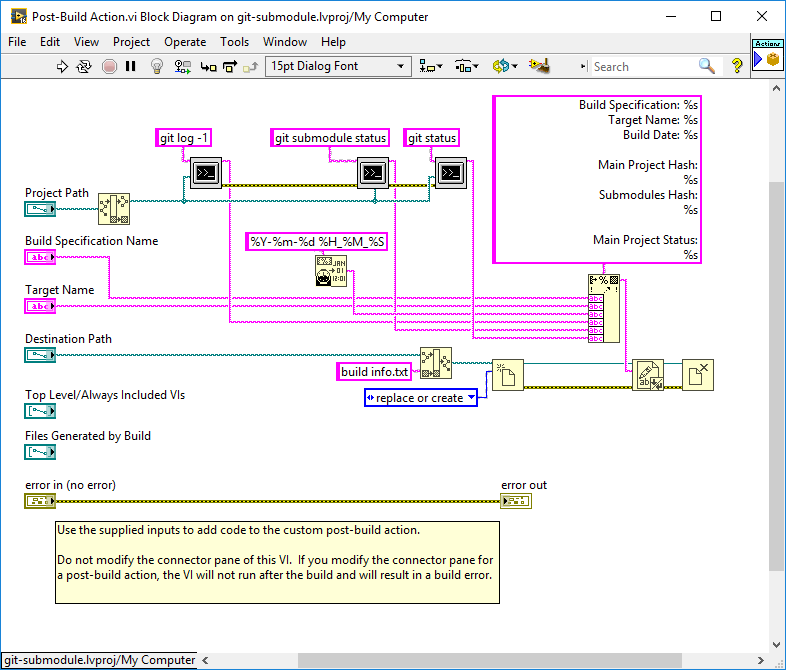
The main part is the submodule information, as this can vary from project to project. To get the submodule status, execute
git submodule status
which will return
36054d63f5d22284e2b5d7e40798af0fbbda14e0 reuse-libs/driver_dialogs (heads/development/2016)
b2089a11fb281ebf5eebb29f9f9080d81ec66933 reuse-libs/driver_math (heads/development/2016)
Conclusion
I have started using Git submodules in new projects as well as refactoring old projects when needed. I see a huge benefit in using them as they encourage
- multiple smaller repositories for common libraries
- low coupling as common libraries should be stand-alone
- multiple projects can share a common library, but not be forced to use the same version
- a submodule can have its own submodule
There is a learning curve that needs to be climbed when starting out using Git submodules, however seeing what they provide in the long run, it’s well worth it.
References:
https://torbjoernk.github.io/article/2013/04/03/struggling-with-git-submodules-and-mercurial-subrepositories/
https://git-scm.com/docs/git-submodule
