Most of my Raspberry Pi’s dotted around the house are set to run headless on WiFi and only accessed over SSH or from a self-hosted webpage. This make running them really easy but setting them up can be tricky. This post is going to cover the basics of getting your headless Raspberry Pi onto a password protected WiFi network without first connecting to it over Ethernet.
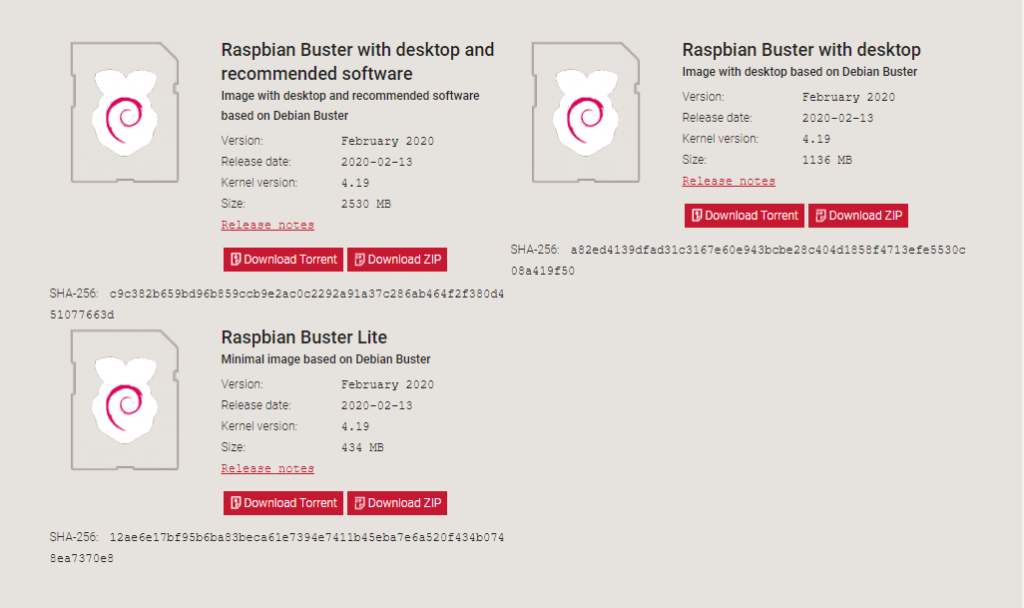
First head over to the Raspberry Pi downloads page and get the latest image. For this post I am using Raspbian Buster Lite.
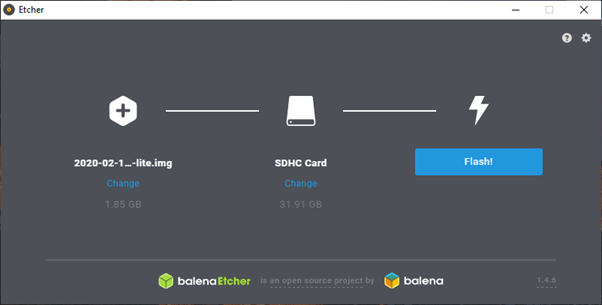
Once the desired image has been downloaded, flash the image to your SD card. For this I use Etcher however you can also use Win32DiskImager.
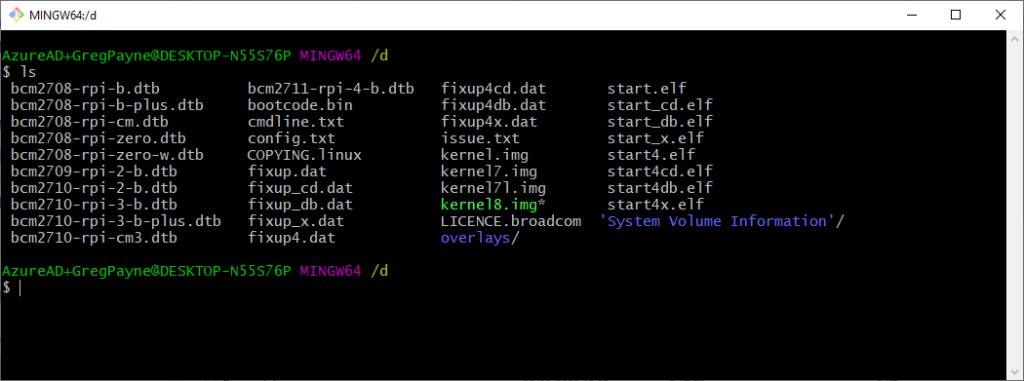
Once the SD card is complete, navigate to the boot partition on the SD card. You may have to remove and replace the SD card into the PC as Etcher normally ejects it when complete.
To configure WiFi and define a network to connect to, create the file wpa_supplicant.conf in the boot partition.
ctrl_interface=DIR=/var/run/wpa_supplicant GROUP=netdev
update_config=1
country=GB
network={
         ssid="some-ssid"
         psk="some-password"
         key_mgmt=WPA-PSK
         id_str="home"
}
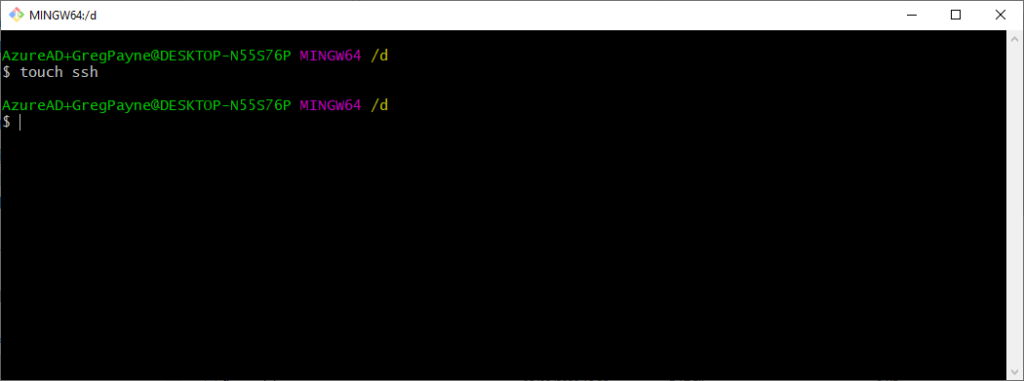
Next you need to enable SSH. By default ssh is turned off. All that needs to be done to get SSH enabled is to create a file called SSH in the boot partition.
touch ssh
This completes the setup off the Raspberry Pi. Insert the SD card into the Raspberry Pi and allow it to boot. If the WiFi setup above is correct, it will connect to the WiFi and get assigned an IP address.
I then use a tool called Fing which will search for all devices on my network. This will give me the assigned IP address of my newly configured Raspberry Pi.
Once you know the IP address you want to connect to, login using SSH and the default password. To set a static IP address, edit dhcpcd.conf.
sudo nano /etc/dhcpcd.conf
And add the following to the bottom of the file. Change the addresses to those that fit your network.
interface wlan0
static ip_address=192.168.0.167/24
static routers=192.168.0.1
static domain_name_servers=192.168.0.1 8.8.8.8
Once you set the static IP address, reboot and connect using the new address.
sudo reboot
Now you can continue with the usual setup:
- Change the default password
- Increase the partition size
- Install applications
- apt-get: vim, git, python3-pip
- pip3: flask


