I have had this post in my head for a while but just haven’t gotten around typing it up yet. I came across the LabVIEW Twitter Toolkit some time ago and gave it a go. It took a while to understand all the security features, but once I got my head around that, everything went smoothly.
The place to start is here. This will guide you through setting up your Twitter Developer Account and creating your application credentials.
A few points to take note of:
- You must add a callback URL, even if you just add your website. This field must be a valid URL and cannot be blank.
- Your application must have read and write access.
- Generate your Access Token if it has not been generated yet.
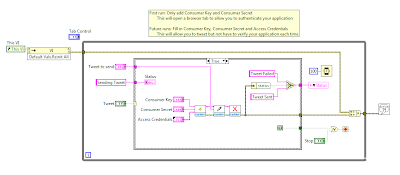
I have edited the basic single tweet example to count characters etc. Here is my version of the block diagram.
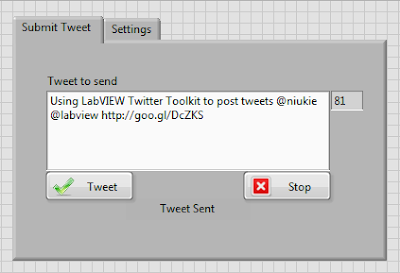
I count the characters in the Tweet string and if more than 140 are entered, I disable the Tweet button and change the font colour to red. The block diagram looks as follows.
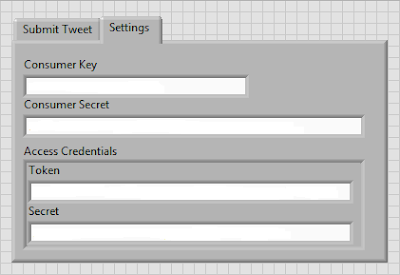
So the idea is, the first time you run the program after you have set up your Twitter Application, enter only the Consumer Key and Consumer Secret. Then type a tweet and press the Tweet button. A browser tab will open and ask you to verify your application. Do this and then the tweet will be posted.
Now enter your Access Credentials and use them for every tweet in the future. By explicitly entering the Access Credentials, you prevent having to authorise your application every time you send a tweet.
That is all there is to it. Once you have it all set up sending tweets from LabVIEW is pretty simple thanks to the toolkit.
Greg

